Uncategorized

Why Use Erythritol

September 1st, 2026

For many years we have used Sodium Bicarbonate but it is being replaced. The newest technology in dental abrasives is erythritol.

Firstly effectiveness. Erythritol is on of our alcohol sugars. Of all of them It has been shown to have the least effect on blood sugar. If the erythritol is absorbed by the body it is not metabolized and is excreted unchanged. Some will not even be absorbed and again pass through the body unchanged. The bacteria in the mouth however take this molecule up as if it were food. They cannot metabolize it either and so kills those bacteria and so reducing the amount of bacteria in the mouth and inside the gingival sulcus. With less bacteria there will be less inflammation in the mouth and increased health of the tissue.

Erythritol blasted against the tooth is not abrasive to the tooth structures or the composites, gold or porcelain we use to restore them. It is however effective a blasting away the biofilm and light calculus that adheres to the tooth. The comfortable air polishing system can effectively reach places that a metal scaler or Cavitron tip cannot.

On top of this important fact the powder size is much smaller. Sodium Bicarbonate is around 70uM in size but Erythritol is only 14uM. This means as it blasts even soft tissue there is no pain. it also reaches into the small niduses of the enamel structure that other molecules cannot get to. What remains is the smoothest feeling enamel that you have ever had.

SEM micrographs air-polishing powders: erythritol (E), glycine (G) and sodium bicarbonate (SB)

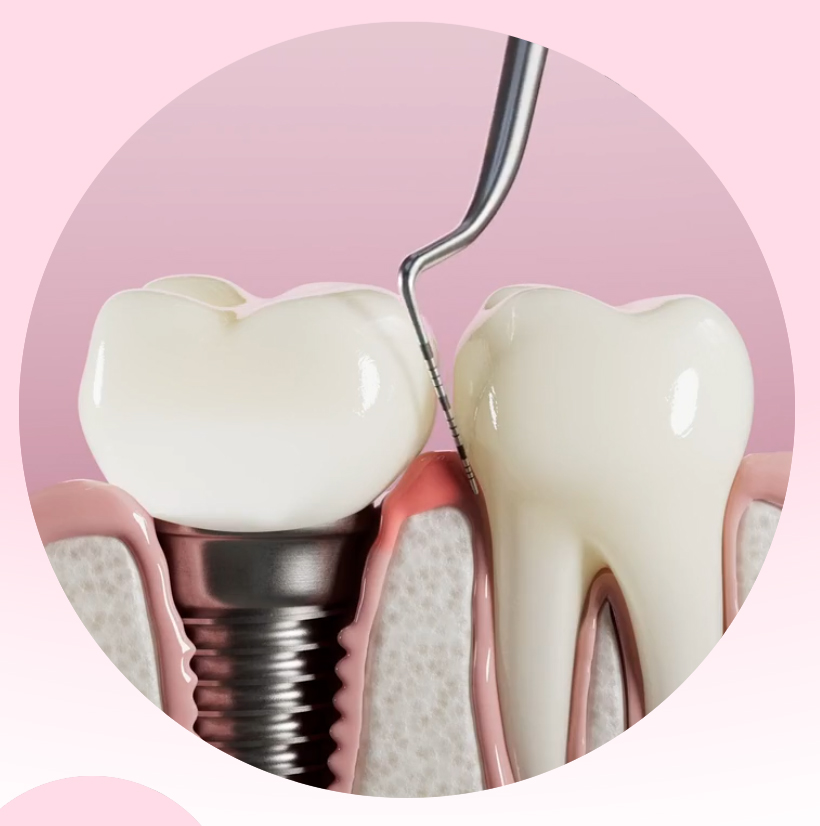
Implant surfaces as well are improved by the erythritol powder. According to research the implant surface is unchanged and as the erythritol powder sits in the sulcus of gum tissue around the implant it again is effective at reducing the number of bacteria and reduces their ability to create a mature biofilm. In people who build plaque up quickly and feel their teeth becoming “rough” or looking yellow this powder will help remove and refresh the surfaces.

With little effect on the human body. With great effect in reducing bacteria numbers. No harm to dental restorations and effective cleaning it is easy to see why we have chosen the EMS system as our hygiene system.

Our goal is always to work better and keep our patients comfortable. This is a win win.

Dental CBCT for Comprehensive TMJ Diagnosis

July 17th, 2026

For quite some time, I have been treating patients with TMJ disorders. The causes can vary widely. The origin of pain may be neurologic, muscular, bony, or related to the disc. Neuromuscular dentistry seeks to identify where all of these systems overlap and interact.

The TMJ is a joint. It has a capsule of surrounding tissue, muscles, synovial fluid, ligaments, and an articular (cartilaginous) disc. There are two TMJs—just like the hips or shoulders—yet the chin connects both sides. When the right side moves, the left side follows. To complicate matters further, when the jaw moves to the right, the left pterygoid muscle activates. This can be very confusing for patients. They may feel pain on the opposite side from where they are moving the jaw. In addition, the jaw can both rotate and translate (shift side to side without opening very wide).

It follows, then, that accurate diagnostics are essential.

We can view the joint with imaging. Many patients come to me with MRI scans, which can reveal muscle tears or disc damage but only indirectly show the bones. In my opinion, a medical CT scan is larger and less ideal for proper TMD diagnosis.

A dental CBCT machine offers the ideal resolution and detail for evaluating the sinuses, TMJs, bones, and spaces of the head and neck. I have identified issues in patients’ spines, brains, and even clogged arteries, leading to referrals to cardiologists and orthopedic surgeons.

Older CBCT machines had a very small field of view and often captured only the TMJ itself. Below is an example of a limited TMJ-only view.

With today’s improved, highly sensitive digital capture systems, we can now use a much wider field of view. I am able to capture the entire head, neck, TMJs, and jaws in one scan. The ability to manipulate a 3D skull and examine it from multiple angles is extremely helpful.

For example, the image below is from an older machine and may have been taken by a provider who does not evaluate the entire system of bones, muscles, ligaments, and teeth. In many cases, I find that muscle pain originates from a malpositioned occlusion. Think of it like walking in a shoe with a broken, angled sole. You can still walk, but the tilted position puts abnormal pressure on your ankle, knee, and hip. Eventually, the weakest structure will hurt.

The same principle applies to the teeth. If the teeth are crowded or positioned incorrectly, they deflect the jaw—possibly forward, backward, or to one side. This puts pressure on the condyles and ligaments while forcing the muscles to compensate. The constant abnormal movement causes wear and tear on structures that should not experience such repeated stress.

Imagine walking comfortably on a soft, flat sandy beach where your feet fit perfectly. Now picture walking on a rocky, uneven surface. The constant imbalance strains the ankles, knees, and eventually the hips. If your hip hurts at the end of the day, it is likely not due to a nerve disease but rather to improper motion stressing the ligaments and fatiguing the muscles.

This is why imaging the joint alone gives us a limited view. We may detect arthritis or bony pressure necrosis, but if the TMJ problem originates from an occlusal issue (how the teeth come together), a small TMJ image will miss it entirely.

I believe we need a comprehensive image of all the involved structures: the upper and lower jaws, the teeth, the TMJs, and the spine. These elements have interconnected roles, and viewing them together is critical.

A few years ago, I invested in a state-of-the-art Planmeca ProMax 3D Mid CBCT machine. At the time, it was one of only two or three machines offering a 0.07 mm voxel size while also prioritizing low radiation exposure.

The image below reveals much more than the small TMJ-only view could show.

We can see that the condyle is in a seemingly good position. However, when we view the full jaw relationship in the larger image, a different story emerges. This patient was asked to bite down normally. You can see that only the front incisors are touching, while the back teeth do not meet. The condyles appear correct, but the teeth are not.

When the patient bites fully on the back teeth, the lower jaw shifts backward, moving the condyles with it into the back of the fossa—a position that causes pain. The patient subconsciously holds the jaw forward in a muscle-supported, unnatural position, which has flattened the front teeth. Clenching on those front teeth can cause the jaw to twist, tooth pain, frontal headaches, and TMJ discomfort.

Is this a disc problem? It can become one if the pressure continues, but the root cause is that the back teeth do not touch until the jaw moves into a painful condylar position. Correcting the occlusion often resolves the source of the pain. This critical relationship cannot be seen with a TMJ-only image.

Imaging is key.

I Fell and Broke a Tooth – What Do I Do?

July 17th, 2026

Firstly, if the tooth is completely out (an avulsed tooth), pick it up and put it in milk. Bring it to a dentist who will take an emergency call and meet you. The faster that tooth is replaced, the more likely it will reattach properly. In very traumatic situations we may need to prepare for an implant, but that is another post.

If the tooth is just broken, try to find the piece that broke off. This can help with shape reference or possibly rebonding it. If you can’t find it, don’t worry — it will have to be bonded anyway. Again, the faster you can see your dentist, the better.

A broken tooth raises two main concerns: Has it moved in the socket? Has the nerve been damaged by the trauma or exposed by the break? It is possible that the tooth will need a root canal.

To test the nerve, the dentist will place ice on an intact portion of the tooth. This helps determine the status of the nerve inside. If this is not addressed, the tooth can develop a rotten nerve due to the trauma.

The dentist will stabilize the tooth to prevent movement. This is often done by bonding a metal wire to the neighboring teeth — sort of like putting a cast on a broken arm. Less movement allows the bone to reform properly around the tooth.

A post should be placed, preferably on a front tooth. This is usually made of a slightly flexible material such as fiberglass or titanium. After this is completed, the dentist will discuss the esthetics. The tooth may need a porcelain veneer or crown. In these cases we usually make decisions based on symmetry. If this is the center right tooth, it may be wise to consider a matching restoration on the left center tooth as a mirror image.

If the tooth is vital: At times the break is small enough that a smaller composite bonded repair is sufficient.

The case below is a little on the larger side, but there was no damage to the pulp and no exposure of the nerve. We were able to bond and repair it. After the past 12 years, the tooth has remained stable and our bond has survived successfully.

Of course this is always a concerning situation. The patient has been traumatized and it is difficult to make choices while in pain. The dentist would love to have all the answers, but at times we have to make educated estimations.

In any event, the proper evaluation would be to replace an avulsed tooth. Stabilize it if moving. A root canal may be needed, followed by restoration of the broken area. If the break is small, bonding may be all that is needed. In larger breaks we may have to be more encompassing and place a porcelain restoration to rebuild the tooth strong enough to survive for many years.

Notes From Our Patients

May 20th, 2026

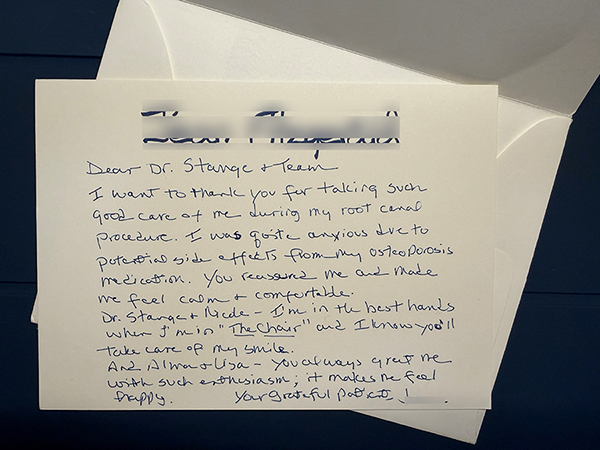
From time to time patients may take a moment and write us notes we Treasure!

In our world of Ai and digitally delivered media, a heartfelt, handwritten note is best experienced by humans :)

EMS Guided Biofilm Therapy:

May 20th, 2026

The Current Gold Standard in Dental Prophylaxis.
What Is Guided Biofilm Therapy?

Guided Biofilm Therapy is far more than a new cleaning protocol. Developed by EMS (Electro Medical Systems), a Swiss based pioneer in professional dental prophylaxis founded in 1981, GBT is a systematic, evidence based protocol for oral health prevention.

GBT is built around a clinically important insight: pathogenic biofilm not just calculus (hard buildup) or unsightly stain. Traditional scale and polish techniques focus heavily on removing hard deposits like calculus, but often miss the softer, more destructive biofilm that accumulates on teeth, soft tissues, and implant surfaces. GBT targets this root cause directly to decrease risk of developing dental problems like cavities and or gum disease. By utilizing a special gel that reveals the location of the invisible biofilm, every step is tailored to the individual patient’s diagnosis and risk profile rather than following a one size fits all approach. Treatment is delivered in the least invasive way possible, with the highest level of comfort, safety and efficiency.

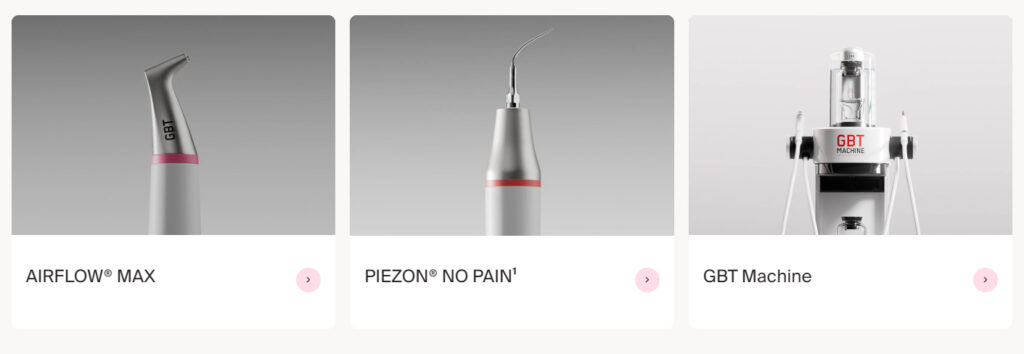
The device utilizes three specialized hand pieces that set it apart from traditional methods:

AIRFLOW® uses a gentle stream of warm air, water and erythritol powder to remove biofilm, stains and early calculus both above and below the gum line without any direct contact with tooth surfaces.

PERIOFLOW® delivers the air water powder stream into periodontal and peri-implant pockets up to 6mm deep, making it ideal for early intervention for implant inflammation in order to prevent disease and save implants before surgical intervention is required.

PIEZON® uses ultrasonic technology with the PIEZON instrument to remove any remaining calculus comfortably, with controlled water temperature.
The clinical and practical advantages of GBT over traditional scale and polish are well documented. AIRFLOW with PLUS Erythritol Powder is minimally invasive on all dental tissues enamel, exposed root surface and gums as well as significantly reducing sensitivity and post treatment discomfort. The technology is also implant safe, reaching structures below the gum line that metal instruments cannot address without risk of damage.
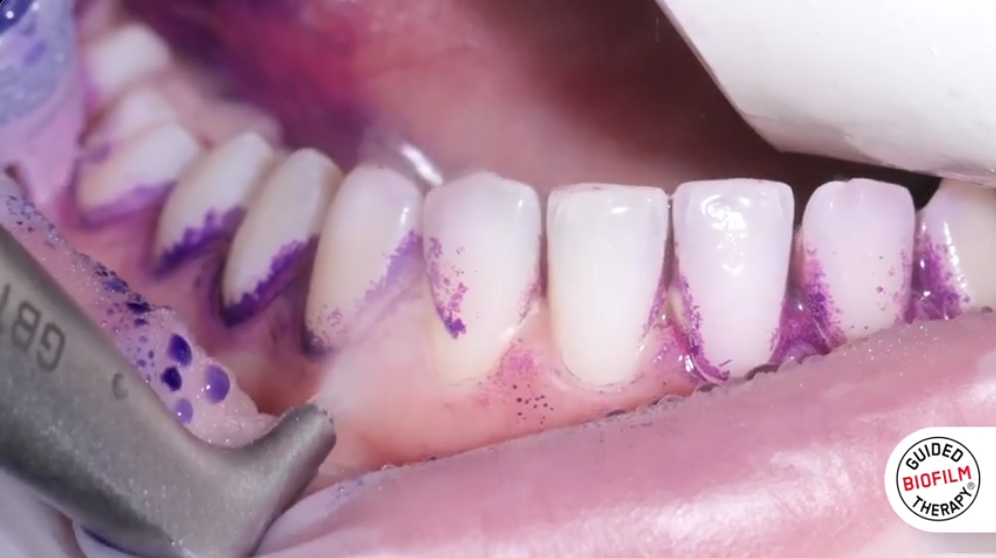
From a patient experience perspective, GBT consistently delivers immediate, visible results with cleaner, brighter teeth with noticeably less discomfort than traditional methods.

GBT is an evidence based, systematically designed evolution of professional dental hygiene that addresses the biology of oral disease more precisely and more comfortably than traditional approaches.

By Jacqueline Roberts RDH.

Abfraction Restorations

March 3rd, 2026

Over time we find they can fracture or discolor.
How do I prevent that?

After 25 years of dentistry I’ve made some observations and modifications to techniques. Addition of instrumentation such as diode and then hard tissue lasers have changed how we complete these restorations. The Waterlase iPlus has been a very effective tool and the most recent version of the software even lays out the steps for restorative. Many times the gingiva has grown up to and maybe even over what cavosurface margin would exist. The body is trying to heal and protect itself. The abfraction lesion can be sensitive to cold, touch and if allowed to continue growing will become a problem to the central nerve of the tooth.
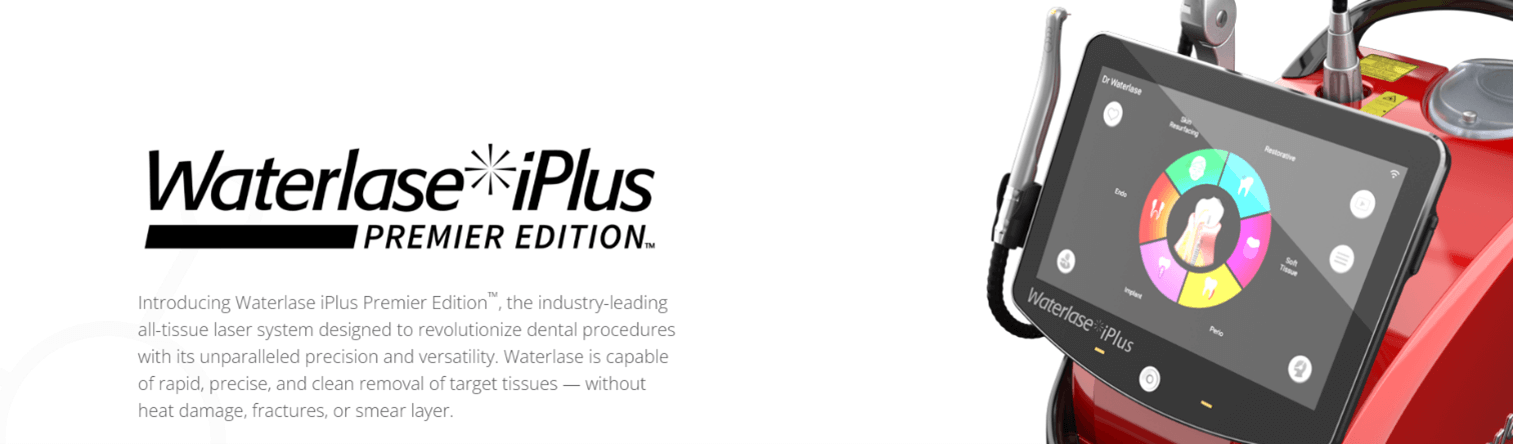
Waterlase iPlus

Preparation

Years ago we would cut the gum tissue back and allow it to heal. Then upon return we would pack cord into the sulcus of the gum to push it back. A successful restoration would need to be placed in the absence of sulcus crevicular fluid and or blood. To do this “correctly” it would be a multi visit and time consuming process.

When I adopted a diode laser we could cut the gum tissue back to its correct position and if the gum tissue was stable and healthy we could restore in a bloodless, dry environment.
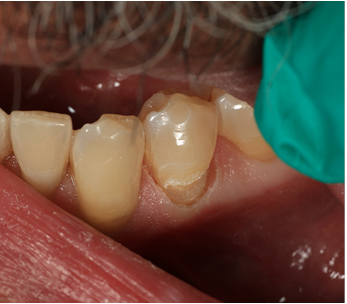
Tooth & Gums

I added another laser which is a hard and soft tissue laser. Waterlase iPlus Premium. (of course any laser that has hard and soft or just soft tissue function will suffice. This just happens to be my choice) this laser allows me to trim to soft tissue and create a sulcus that will not leak and then immediately follow with hard tissue preparation. That preparation follows the same old rules of creating a squared off ledge that can give us mechanical retention. I do take my diamond and bevel the occlusal most portion so that the composite will feather into the original tooth structure and it becomes more difficult to detect a color change.

The root surface is a very porous one. The patient can already be sensitive in this location and acid etching, while necessary, can make that sensitivity worse. At times the patient would be improved and at times the patient would find that the sensitivity would linger.

My bonding process has thus evolved. I still need to bond to the tooth and so still need to etch the dentin. I want to limit sensitivity so I use XTR by the Kerr Corp. The research shows that the bond strength to dentin was very high. But a little lower on enamel than my previous. Over months I would find a thin brown line at the enamel junction. To solve this….i phosphoric acid etch just that enamel margin. Air abrasion at the enamel margin. And finally bonding agent - XTR by Kerr is a two step etch liquid and bond liquid. The primer liquid is self etch and whatever it touches it etches but also helps to seal. In this way it reduces post op sensitivity (by not over etching onto unbonded surfaces). To bond to the dentin and enamel the above method alone is perfectly adequate. But if I want to increase bond strength of the XTR to enamel I will spot etch the enamel at the occlusal most portion of my preparation. I also air etch the enamel only.
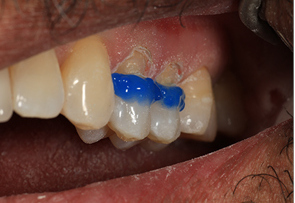
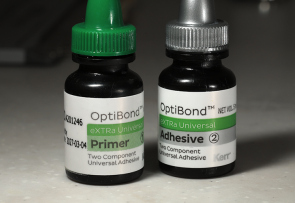
Tooth & Enamel

Bond

I have been doing this for the past 10 years or so we do not find staining of any margin due to bonding weakness or leakage. I have also found that the sensitivity post op has dropped to maybe 1 in 10. And maybe 1 in a 100 might have lingering sensitivity.

Restoration

There are multiple considerations with Abfraction lesions. We have gingiva, dentin and enamel. Specifically the dentin on the root is sensitive to acids. Our procedures can sensitize the area and the neighboring areas.

Over the years I have modified my chemical preparation of the root surface as well.

Firstly the restorative material must be flexible. It cannot be a packable rigid material. The cause of the abfraction is flexure of the underlying flexible dentin root. As the attached enamel is very thin at the CEJ it will eventually crack. The forces at the CEJ continue to cause flexure and increase the size of the abfraction lesion. So restoration must have a flexible lightly filled restorative material. If the material is too highly filled or is inflexible it will break away just like the original tooth did.
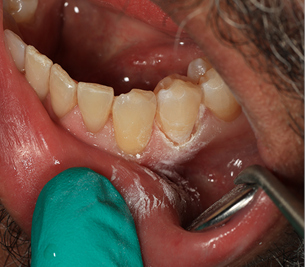
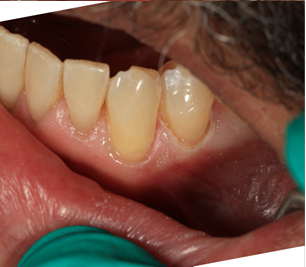
Repair

Complete

For about 20 years I have specifically use a Japanese manufactured material TMPT by Parkell corp. it survives very well resists staining. It is easy to sculpt and in this location is easier to manipulate.

For this I have one final step. After contouring and polishing. We take Enamelon by Premier prophy paste. It is an Amorphous Calcium Phosphate paste. Prophy cup application to the CEJ and surrounding root area will drop sensitivity by occluding any remaining open pores. Remember open pores at the root are odontoblast canals and they channel right back to the central nerve of the tooth. The restoration covers this but if some are open the sensitivity can remain. The saliva has calcium and this is why time can correct the sensitivity but adding this at the time when the patient is already numb is important.
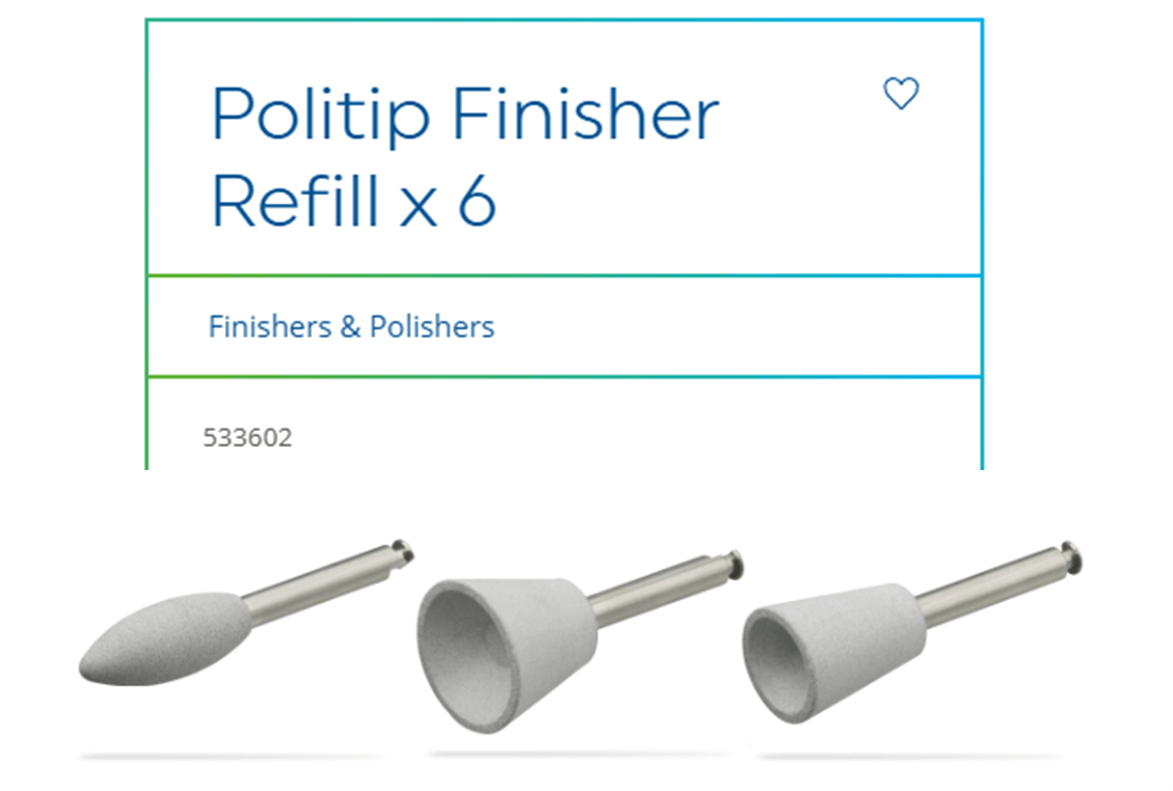
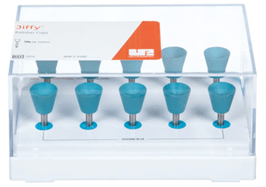
finisher tips

equipment

Cover the area immediately after with a sticky paint on fluoride and my sensitivity is much much less. Most patients do not think about the tooth again. Of course there will always be a tooth that is sensitive and defies all these efforts but with this method has been tried and true for the past 10 plus years. In fact we recently replaced a restoration that broke and we realized that it had been 12 years since I placed it. In hindsight there are only a handful of these that have even needed to be replaced.